Interesting pages photography and edit

On this page you will find some interesting locations to improve your photography skills and/or photoshop skills

For photoshop
PixImperfect youtube channel : https://youtube.com/c/PiXimperfect

For home (studio) photography
Frank Doorhof, dutch photographer (creative portrait)
Yotube channel: https://www.youtube.com/user/FrankDoorhof

Gavin Hoey explaines a lot, also olympus guy, from adorama.
Youtube channel: https://youtube.com/c/GavinHoey

Beyond Photography from Malaysia, with a lot of tutorials about technic
Yotube channel: https://www.youtube.com/user/TheBeyondPhotography

Daniel Norton with studio light (Onset)
Youtube channel: https://www.youtube.com/c/DanielNortonPhotographer/featured

Robin Wong, Olympus visionair from Malaysia
Youtube channel: https://www.youtube.com/user/robinwong
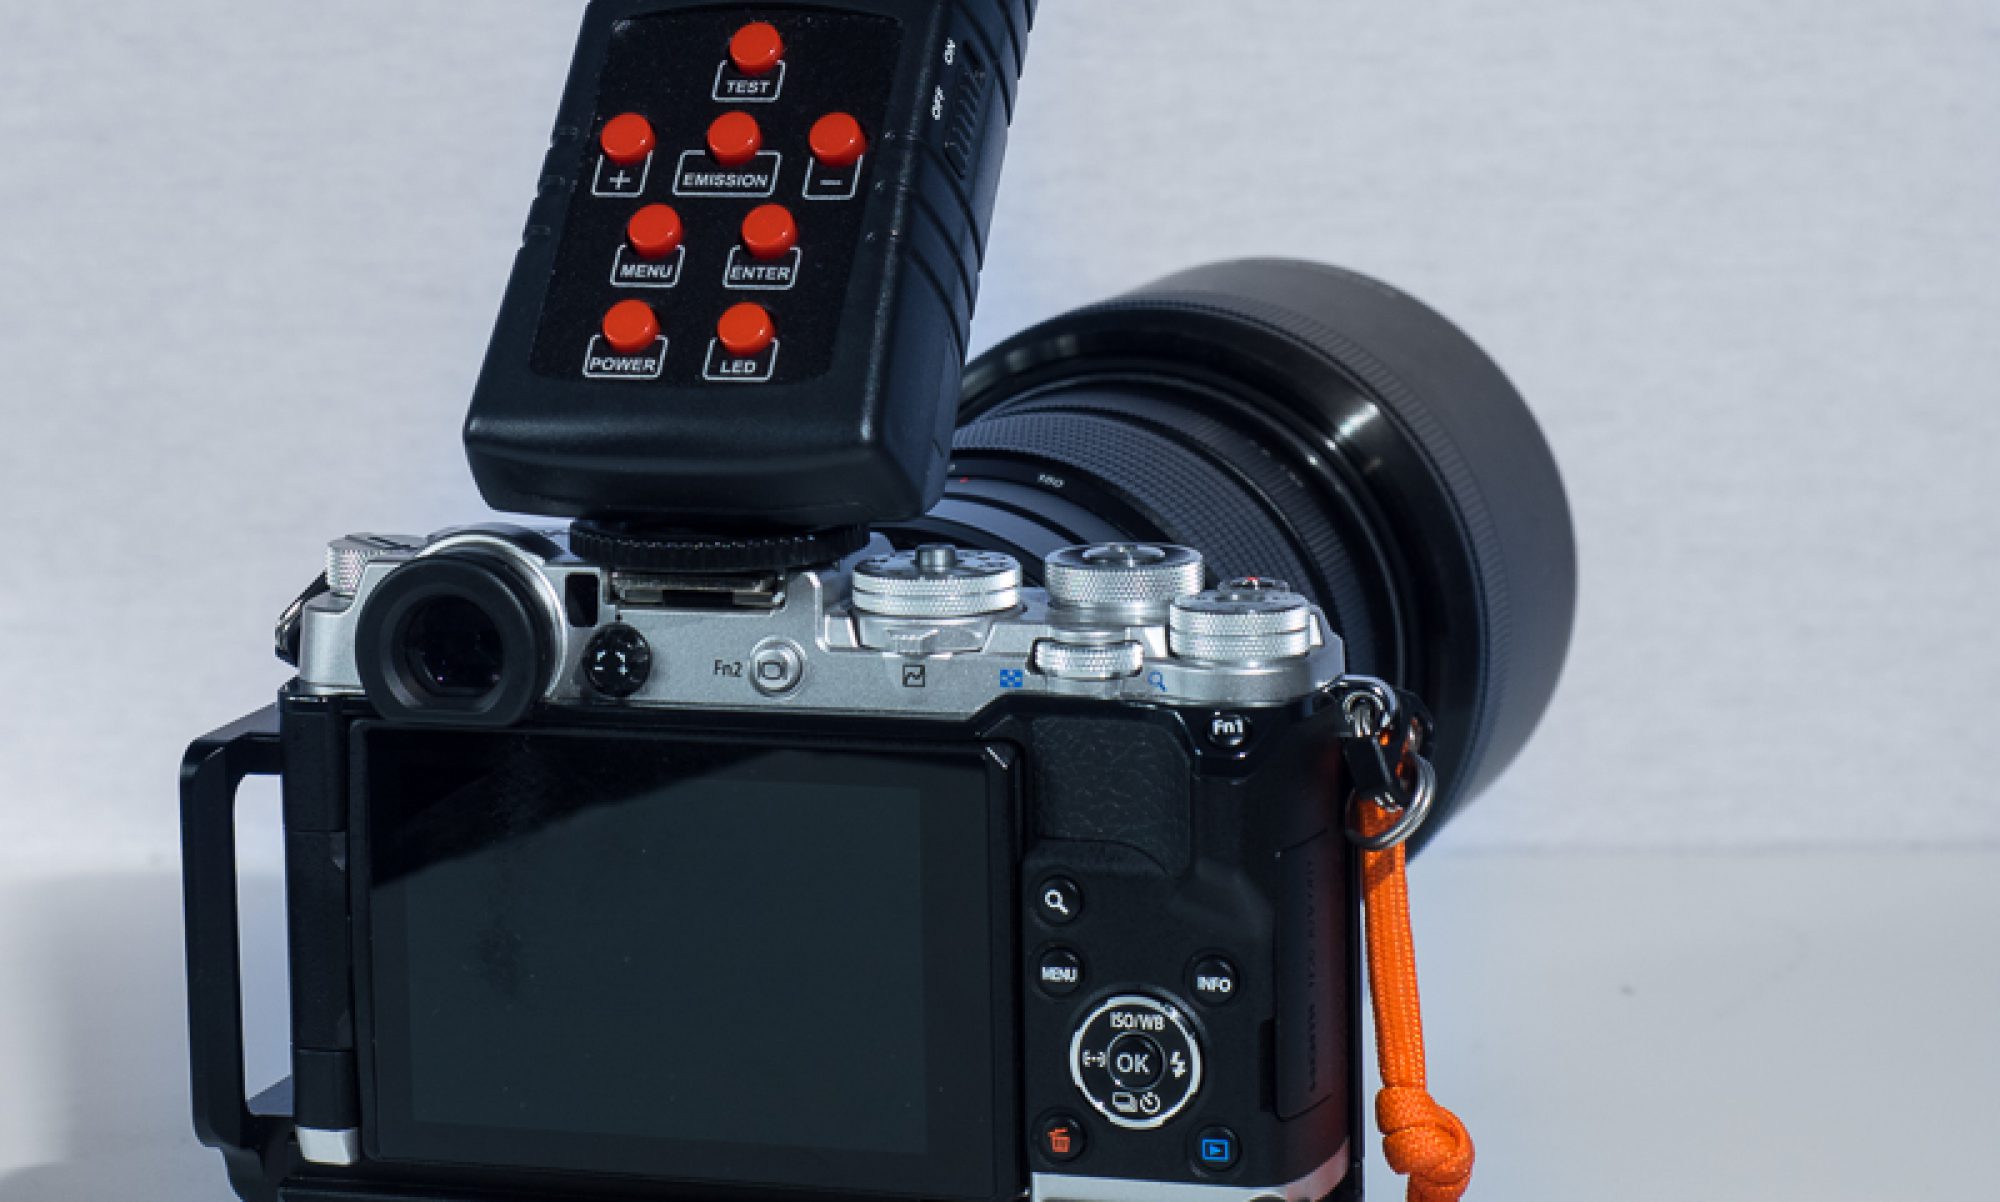
Teleconverter mft 2x

Op 19 juni 2019 schreef ik al dat de mc-20 teleconverter op de markt zou komen, het heeft lang geduurd eer deze daadwerkelijk in de winkel lag. En ook nog eens sporadisch. Wanneer een winkel deze in voorraad was, was het ook gelijk weer uitverkocht.

Het is dan eindelijk zover, de MC-20 teleconvert 2x voor Olympus MFT is beschikbaar.

Link naar Olympus MC-20

dec 2018, op dit moment heeft Olympus alleen de 1.4 MC14 teleconverter. Geschikt voor de Olympus m.zuiko 40-150mm Pro en de 300mm Pro.

De 2x MC-20 MFT teleconverter zou een mooie aanwinst zijn. 80-300 zoombereik (fullframe 160-600mm F5.6)

In juli 2020 kon ik er eindelijk 1 testen.

In combinatie met de 40-150 pro is het echt geweldig. Het bereik is nu 300mm, iets meer dan met de 1.4, welke tot 210mm kwam. In full frame ga je van standaard 300 naar 420 naar 600mm!

Nog een voordeel van deze combinatie is de close up mogelijkheid. Het is natuurlijk geen macro, maar op redelijke afstand kun je prachtig een libelle vol in beeld krijgen.

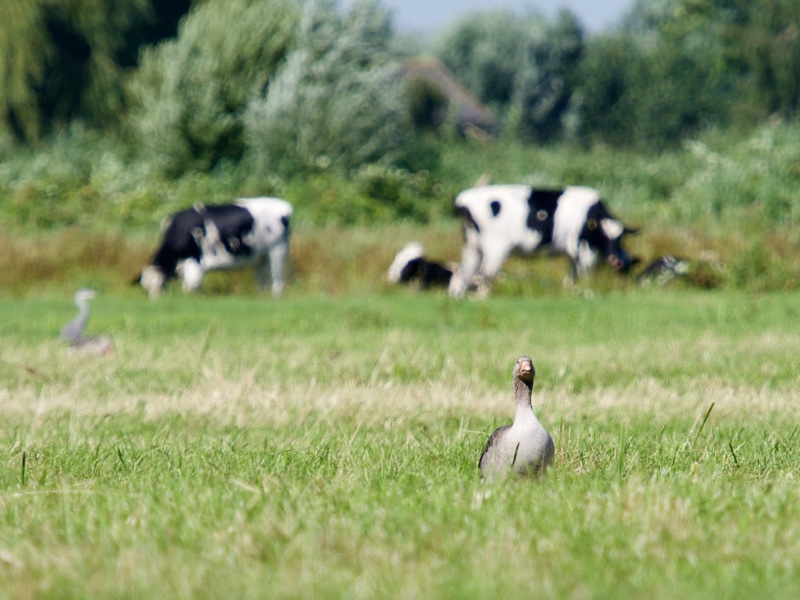
Voor natuur/dieren fotografie is het een fijne combinatie, een scherpte op het onderwerp en een fijne wazige achtergrond waardoor het onderwerp goed benadrukt wordt.

Al met al een hele fijne combinatie.

Miops splash

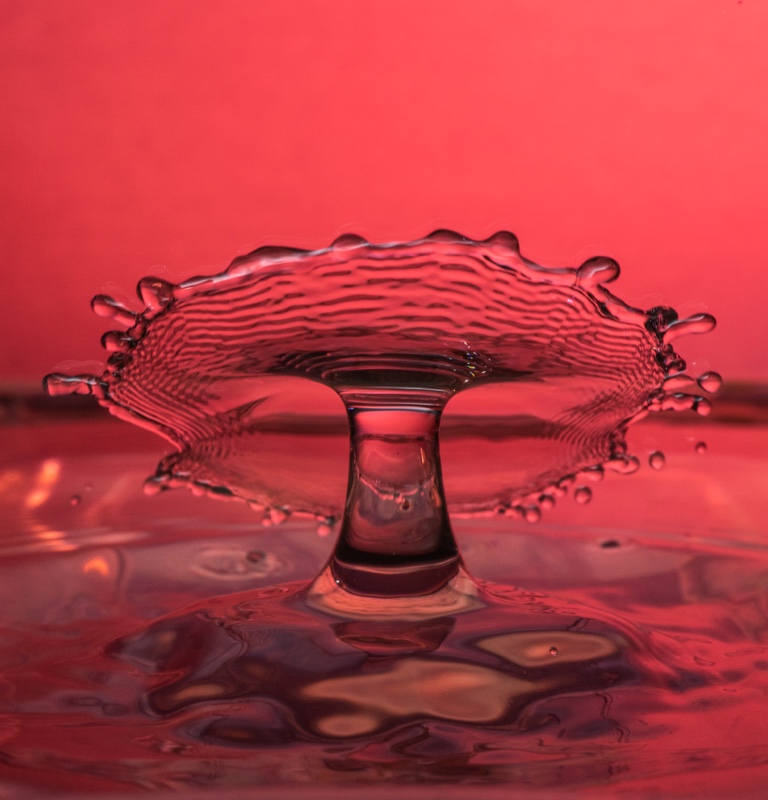
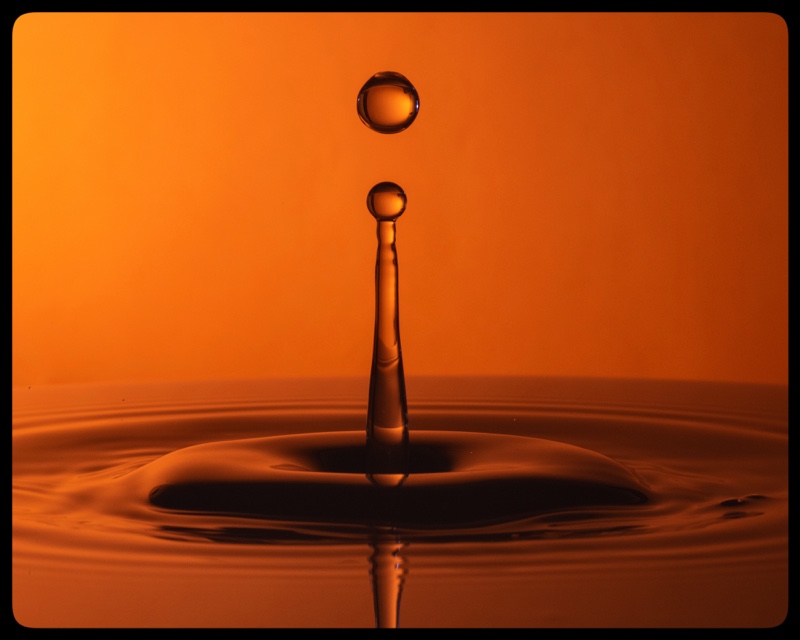
So much fun with the Miops Splash. A device for managing waterdrops and controlling the camera or flash. With the supplied cable it is possible to control a flash unit with a standard 3.5mm jack. The godox ad200 and godox tt685 have both this connection so it was easy to setup for a first try.

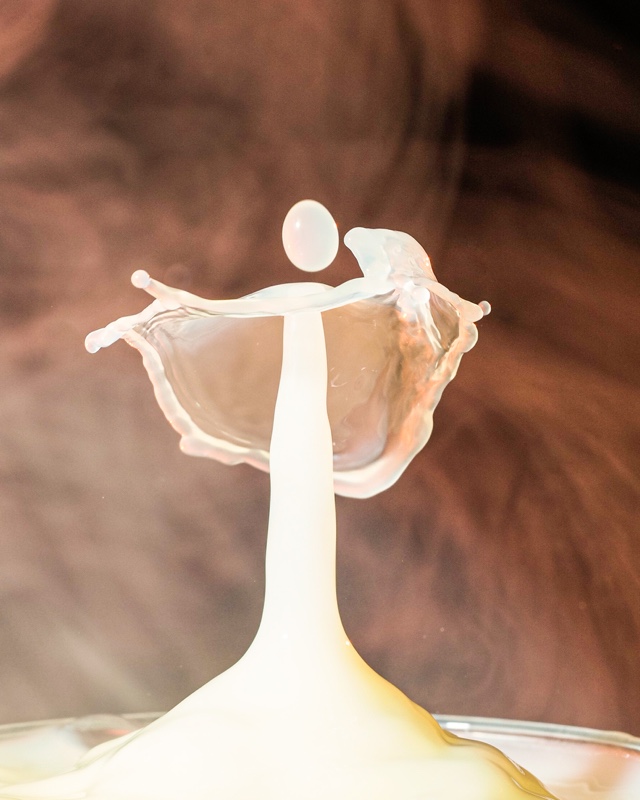
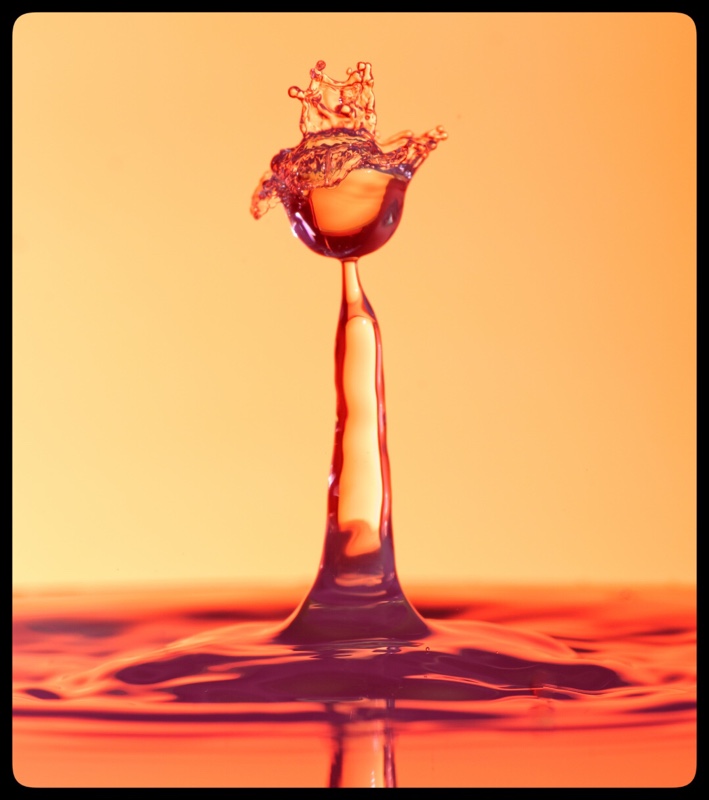
One of my first watersplash with the miops splash. 2sec F11 iso200. To ftreeze the motion the flash was setup at 1/64 power. I had to trigger the miops on my phone within 2 sec of exposure.

After a lot of watching on youtube, reading and trying it’s getting better and better. I also found a cable to trigger the my Olympus omdem1m2 and canon eos 7d. They both have a 2.5mm jack for remote trigger. The Miops Splash also has a 2.5mm for controlling the camera. After this setup it was much easier. The trigger the miops with my phone also triggered the camera (and the flash trigger, godox x1t-o or -c) and the flash.

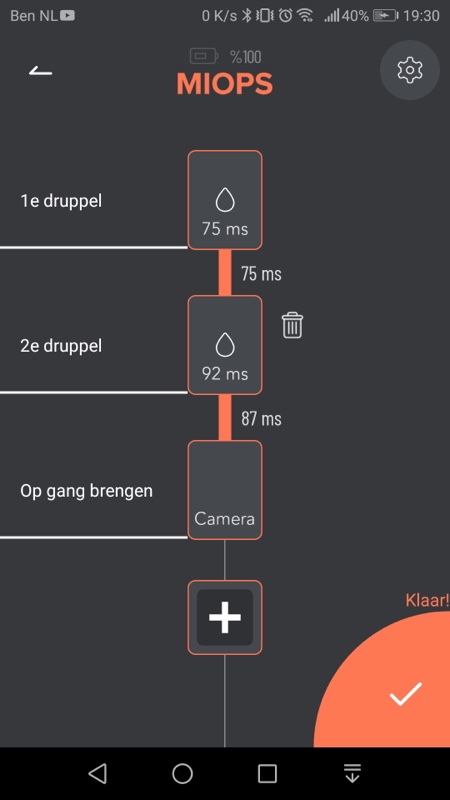
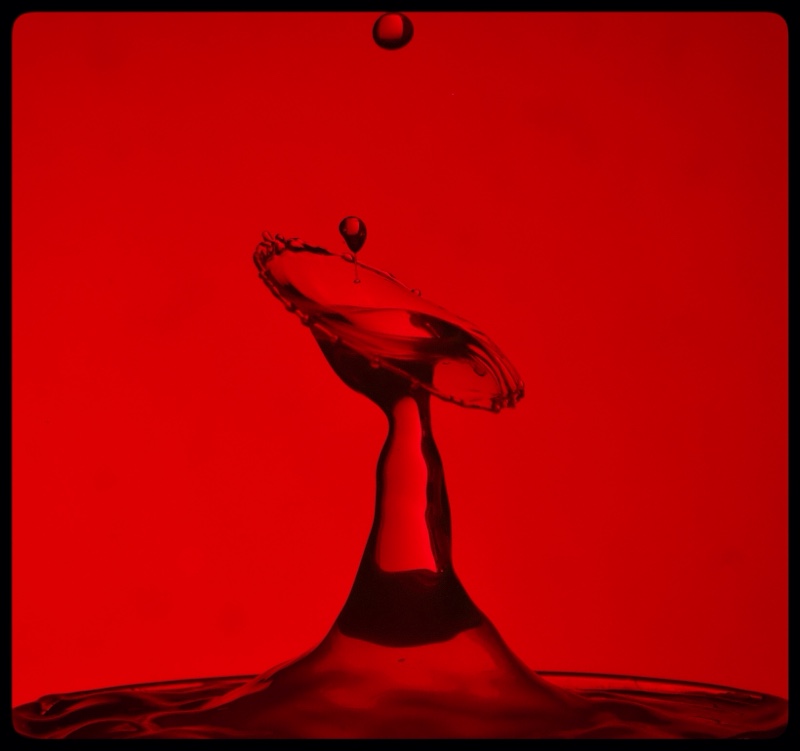
Olympus omdem1m2, bresser 60mm macro, F11 1/250 iso200. Trigger by phone app Miops Flash. Setup miops – 1e drop 75ms, 2e drop 94 after 85mm and camera trigger 100ms (tip: use flash rear curtain sync)
Miops app on android (it works the same on ios). Connection with bluetooth is very quick.

A short howto on IGTV: https://www.instagram.com/tv/CA2y-T1D4-Z/?igshid=1ww4y75b9rtui

Some tips: try different heights, use xantham gom it will make the waterdrops better, use milk or food color, clean the miops splash after use. With clear water or x-rain, this is also perfect for the nozzle it releases the tension of the water drop. For flash use rear (2e) curtain. Also fun to use color gels and different backdrops

Convert negative film

Plenty of time this moment because of Covid-19. So it’s time to open a box with many negative film. All 35mm created with an Olympus Trip 35. My dad used to take photos a long time ago. He bought his Olympus in Katwijk in 1969. For me a surprise to see so many photos but never saw them before.

Because i shot some photos recently with his old Olympus (and my canon eos10 dslr) i wanted to digitalize the negatives by myself. The first few tries were a disaster. Not sharp, bad colors. To improve the quality of the digital photo i made a simple solution. 2 pieces of glass (from 2 photo frames 13x18cm). Created a small frame for 1 35mm frame with black tape. As a backlite i use a led light. The camera, every camera will do fine, i use my Olympus omdem1 with 30mm f3.5 m.zuiko and a remote trigger. To focus i use a piece of paper with printed text. Manual focus on the text. Set the camera on Manual with an Aperture of 7.1 and shutterspeed of 1/15 (depending on the led backlight)

The most difficult part is to convert negative photos to normal. It can be done with lightroom, by changing the curves 0f every color. But you will not get perfect colors. Specially when converting many photos one at a time. It is possible to synchronise all photos but the results are bad. Another possibility is Snapseed on the ipad. It is possible to convert the negative. But in this case the same, it takes a lot of time to tweak the photo for a decent photo.

The best result for now is Negative Lab Pro. A plugin for Lightroom. But amazing what results you get.

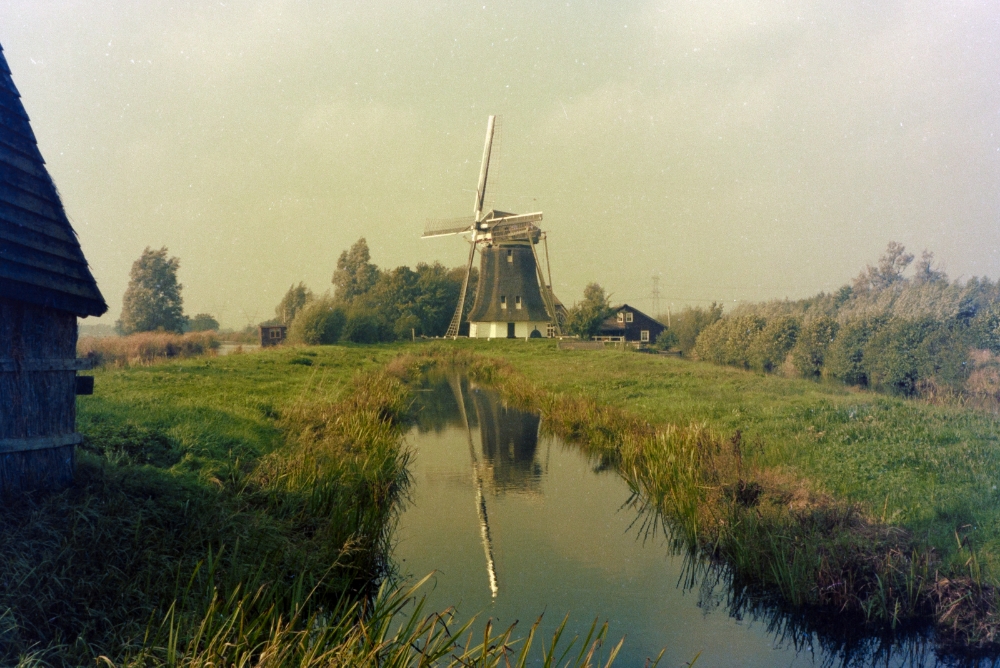
Kodacolor shot with Olympus trip35 in 1978 (photocredit Henk Boltje). meermolen de onrust in Muiderberg,convert with Negative Lab Pro